How to Stabilize Videos in Capcut Easily, Let's Try!
Disappointed because the recording results are unstable? Now there is a way to stabilize videos in Capcut easily and quickly.
Capcut is one of the applications video editing the most popular today. The variety of useful features and easy-to-understand UI make many video editors use this one application.
Cheapest MLBB Diamonds!


One of the widely used features is Capcut Stabilizer. This feature can help editors to easily stabilize the videos they take in Capcut.
How to stabilize videos in Capcut easily? let's see the steps in this article!
Also read:
How to Easily Stabilize Videos in Capcut
Taking videos is not an easy thing to do. You have to keep the camera or device you are using steady until the shot is good and not blurry.
To stabilize the video, you can use a support tool to balance the device. For example, a tripod or stabilizer.
If you don't have either of these devices, don't worry. You can use the stabilizer feature available on application Capcut. How to use?
Download and Install Capcut Application
Before you start editing, you need to download and install the Capcut application. To download the application, you can visit their website here.
To edit videos in Capcut, you can do it on a smartphone, laptop or PC. However, it is highly recommended to use this application via a PC or laptop.
This is because a wider screen will make you more comfortable in editing videos and choosing existing features.
Import Video From Gallery
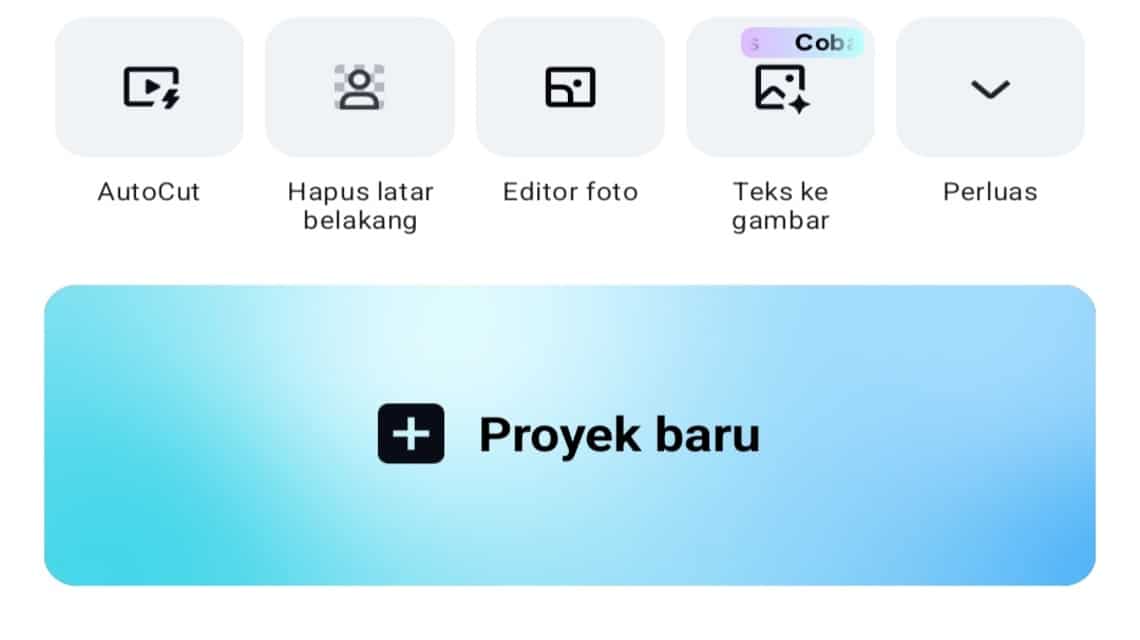
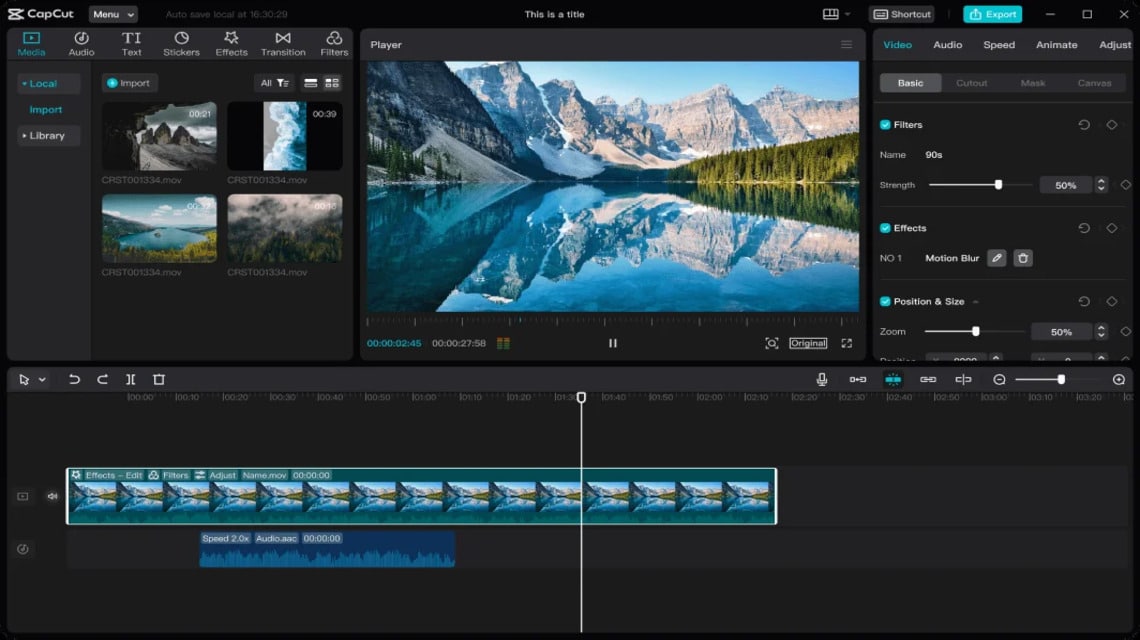
After successfully installing, run Capcut and select the “New Project” menu to start editing the video you want.
Next, select the video from the gallery that you want to stabilize and click the “Add” menu located at the bottom right of the screen.
Wait until you are redirected to another page to edit the video. The next step, select the “Edit” menu, then swipe until you find the “Stabilize” menu.
There are four levels of stability that you can apply to your video, namely “None”, “Minimal crop”, “Recommended”, and “Most stable”.
Later, the system will process the video to match the stability level you choose. The file size can also change depending on your choice.
Export Video to Gallery
Once the video is stabilized, you can check the results first before saving the video to the gallery.
If the results are as desired, you can continue editing the video with other features.
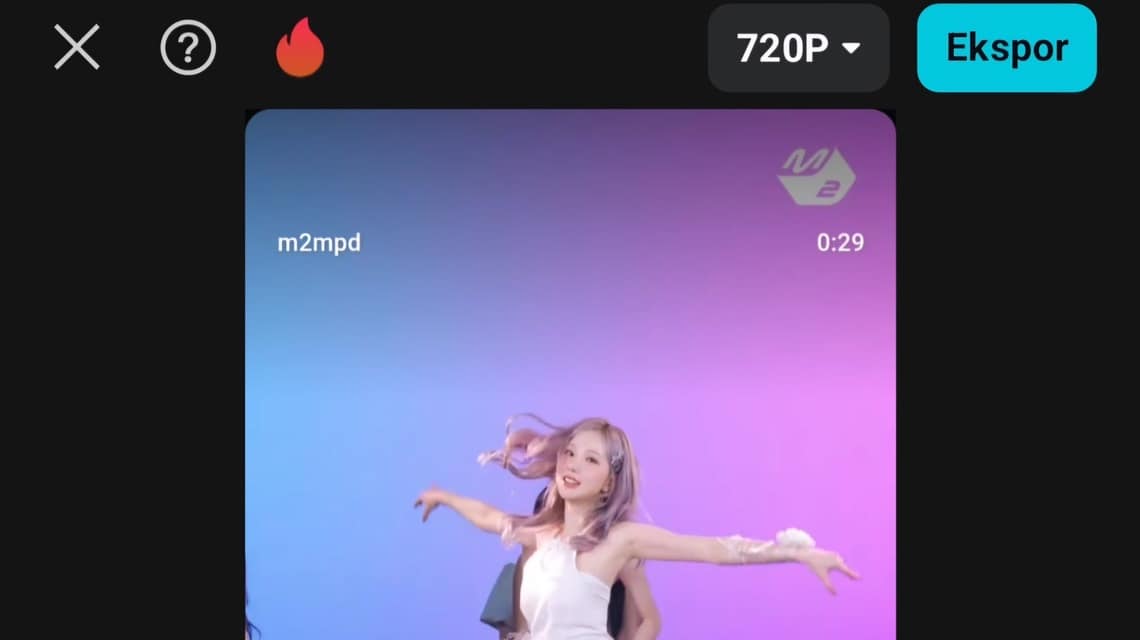
Once the video has been edited, you can set the video resolution. The resolutions currently available in Capcut are 480p, 720p, 1080p, 2K, and 4K.

As a note, the size of the video file you edit depends on the resolution, frame rate, and Mbps. The higher the resolution you choose, the larger the file size will be.
To save the video to the gallery, select the "Export" menu located at the top right of the screen. Wait a moment until the rendering process is complete and you can see your edited video in the gallery.
Also read:
Well, that's a brief description of how to stabilize videos in Capcut easily. Hopefully this tutorial can be useful!
For those of you who are looking for a place to top up your favorite games or digital products that is cheap, safe and reliable, let's top up at VCGamers Marketplace just!