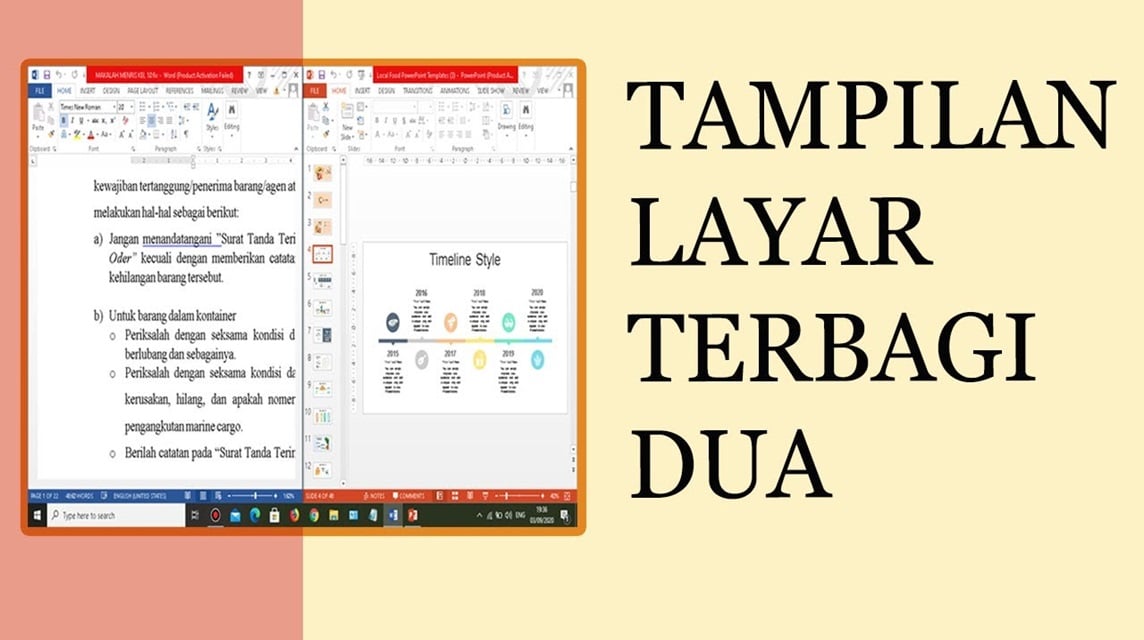
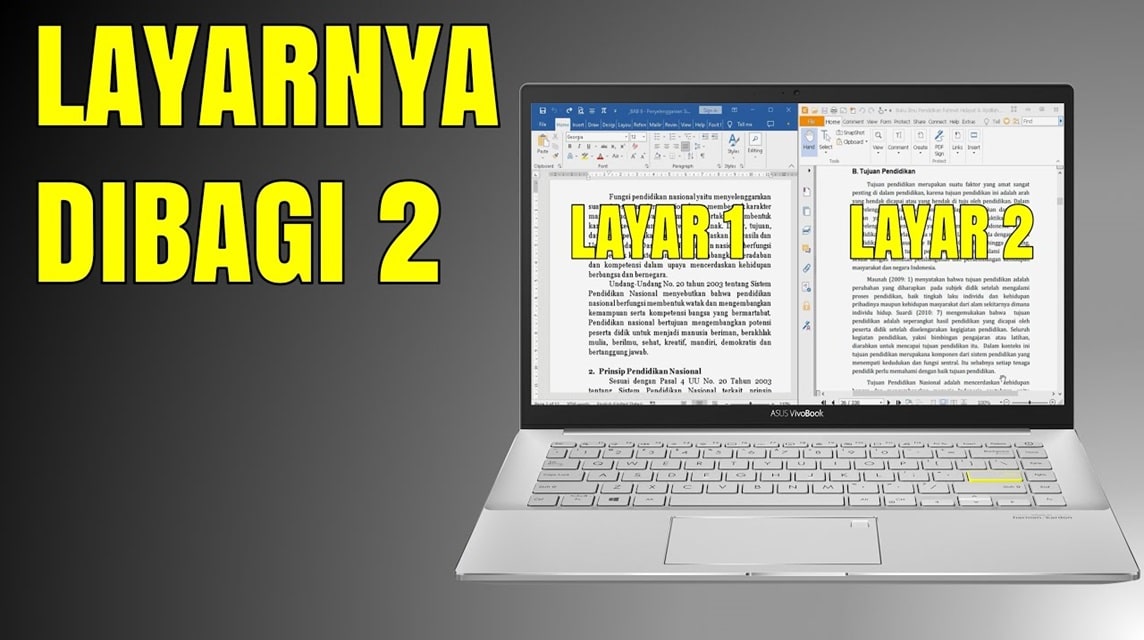
How to divide the laptop screen into 2 parts is needed when you really want to work on more than one task at once. For example, opening Microsoft Office and Chrome on the right and left sides.
You can save time and increase productivity without having to constantly switch between windows.
Also read: 5 Ways to Fix a Laptop Keyboard Not Working
How to Split Laptop Screen into 2 Parts
Cheapest MLBB Diamonds!


 RudyStorez

 TopMur

 RudyStorez

 RudyStorez

 RudyStorez

 TopMur

 BANGJEFF

 TopMur

 TopMur

 RudyStorez
In this guide, we will discuss several methods at once, so that it is easier to find the method in one article.
Windows 10 and 11

Windows has a built-in feature called Snap Assist. This feature allows you to quickly split your laptop screen into two parts. Here's how:
- Open the first application you want to use;
- Click and hold the top of the application window, then drag it to one side of the screen until a transparent line appears;
- Release the window when the transparent line appears. Automatically, the window will fill half of your laptop screen;
- On the other side of the screen, Windows will display a list of open apps. Select the second app you want to use, and it will fill the other half of the screen.
You can also use a combination of keyboard keys to split the screen. Make sure both applications you want to use are open, then follow these steps:
- In any app, press the 'Windows' key + 'Right Arrow' to move the app to the right side of the screen;
- For the second app, press the 'Windows' + 'Left Arrow' keys to move the app to the left side of the screen;
- Done! Your laptop screen is now divided into two parts ready to use.
Also read: 6 Ways to Easily View Windows and Apple Laptop Specs
MacOS

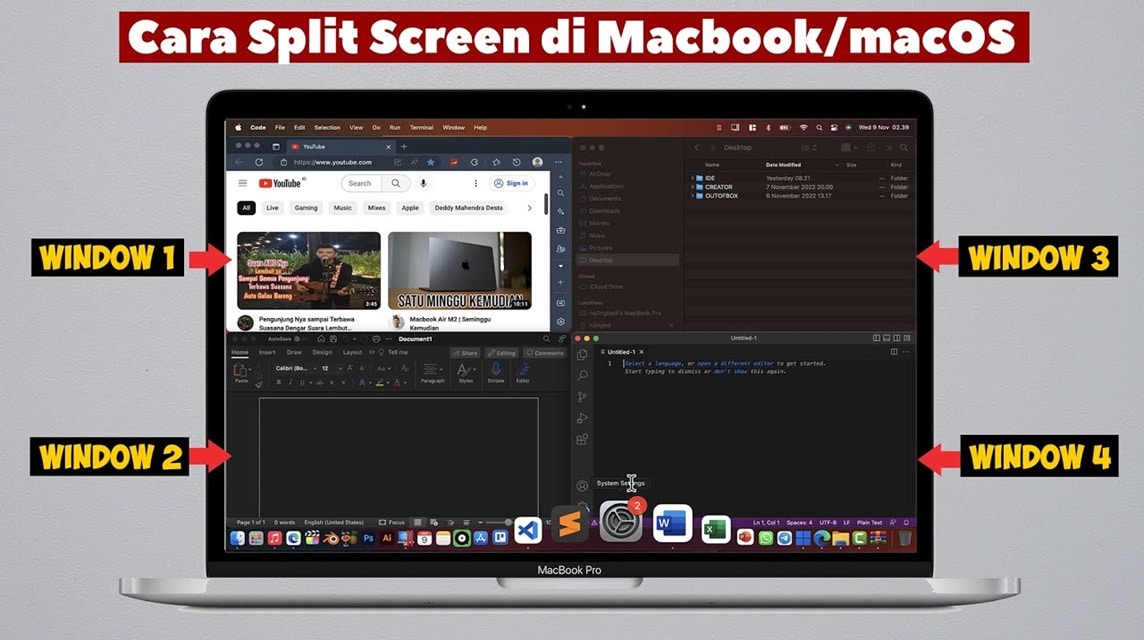
Unlike Windows, the MacBook operating system has a 'Split View' feature that allows application windows to be displayed side by side. However, how to enable this feature varies between macOS Catalina (the latest version) and previous versions.
If you're a Mac user, you can also split your screen easily. Here's how:
- Open the two apps you want to use;
- Click and hold the green button in the upper left corner of the first application window. The window will shrink, and you can then drag it to the left or right side of the screen;
- Select a second app from the other side of the screen to fill the other half.
The Split View feature on Mac allows you to work with two applications in a full-screen view that is evenly divided.
There are times when the Split View feature on your MacBook doesn't work as it should. However, the solution is quite simple. You simply go to the 'Apple' menu, select 'System Preferences', then click 'Mission Control'.
Make sure the 'Displays have separate Spaces' option is enabled. This will allow Split View to work normally again.
Also read: 5 Ways to Fix a Laptop Keyboard Not Working
Using the Application

In addition to the operating system's built-in features, you can also use third-party applications to share your laptop screen.
Some applications such as AquaSnap, Divvy, or GridMove offer additional features to organize window layouts more flexibly.
With these applications, you can adjust the size and position of the window as needed, and can even split the screen into more than two parts.
That's how to split a laptop screen into 2 parts in Windows 10, Windows 11, and macOS. Hopefully these tips will help you complete your tasks more efficiently.
Also read: 5 Easiest Ways to Screenshot on a Laptop
Immediately fulfill your digital product and game needs at the cheapest and fastest prices at VCGamers Marketplace right now!


