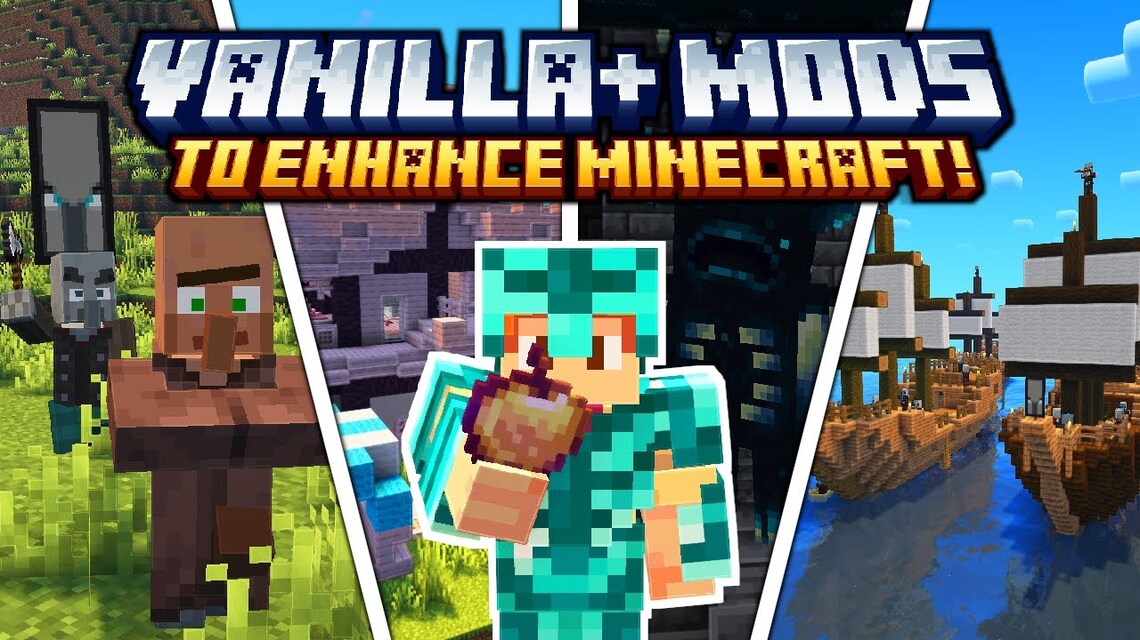
How to Enable Mods in Minecraft
Enable mods in Minecraft is one of the ways that many players use to make the game more interesting.
By activating mods, you can modify many features and add content that was previously absent.
Cheapest Roblox Products!


You can download various interesting mods such as The Sims 4 themes and Stardew Valley in Minecraft from the website Curse Forge.
What do you need to enable mods in Minecraft? Check out the complete guide in the following article!
Also read:
How to Enable Mods in Minecraft
Are you bored playing the original version of Minecraft? Now you can install various mods to make the game more interesting.
Before going any further, you need to make sure that you have set up a Minecraft (Java Edition) server and installed the Java Development Kit (JDK).
As a note, Minecraft Bedrock Edition does not support mods and can only work with additional content from the official Minecraft sales site by Mojang Studio.
Installing mods will also affect the memory usage on your device. So, make sure you have enough storage for each mod.
Since it is not from an official site, don't forget to back up important files in case something goes wrong during the installation.
If you are interested in trying it, here are the steps to activate mods in Minecraft.
Installing Minecraft Forge
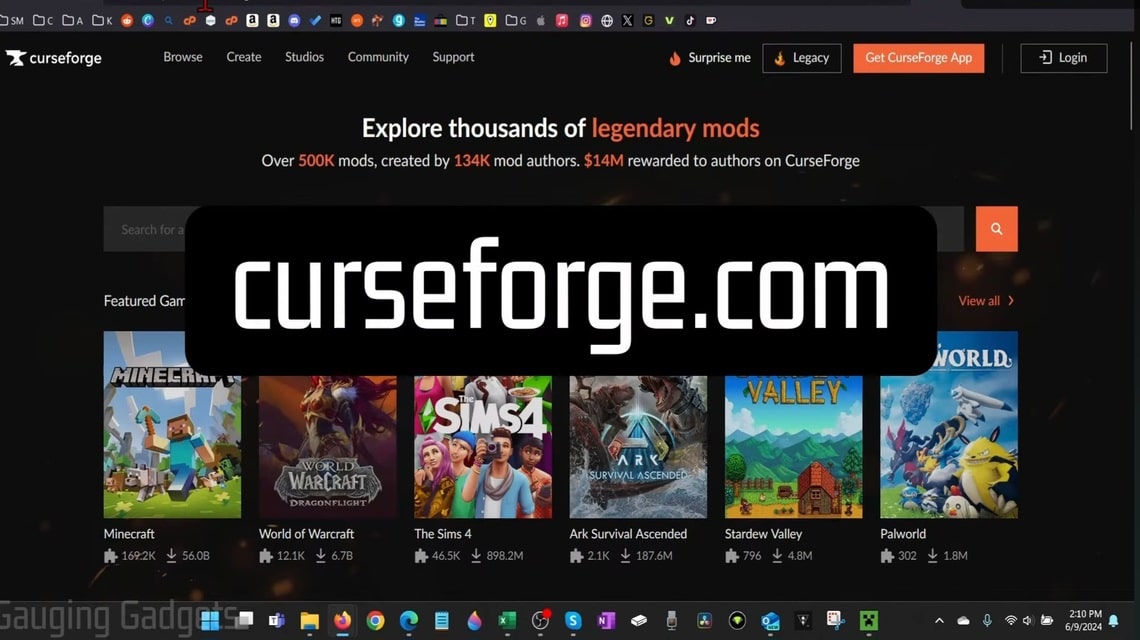
Before installing, you need to choose the mod you want to use in Minecraft. The site that most players use is Minecraft Forge.
Go to the Minecraft Forge website and download the version they recommend. Wait until you are redirected to another page.
After waiting for a while, click the “Skip” button and open the Minecraft Forge file on your device. Select the “Install Client” menu and click “OK”.
The Client version allows players to join Minecraft Forge servers. If an error occurs indicating a missing profile, make sure Minecraft Launcher is properly installed.
Run the installation file once again and now select the “Install server” option. Use the storage used by the vanilla Minecraft server to create the folder and ignore any warning messages.
Reopen the existing folder and double-click on the file named “run.bat”. The Minecraft server will start running along with Minecraft Forge.
Choosing and Installing Mods in Minecraft
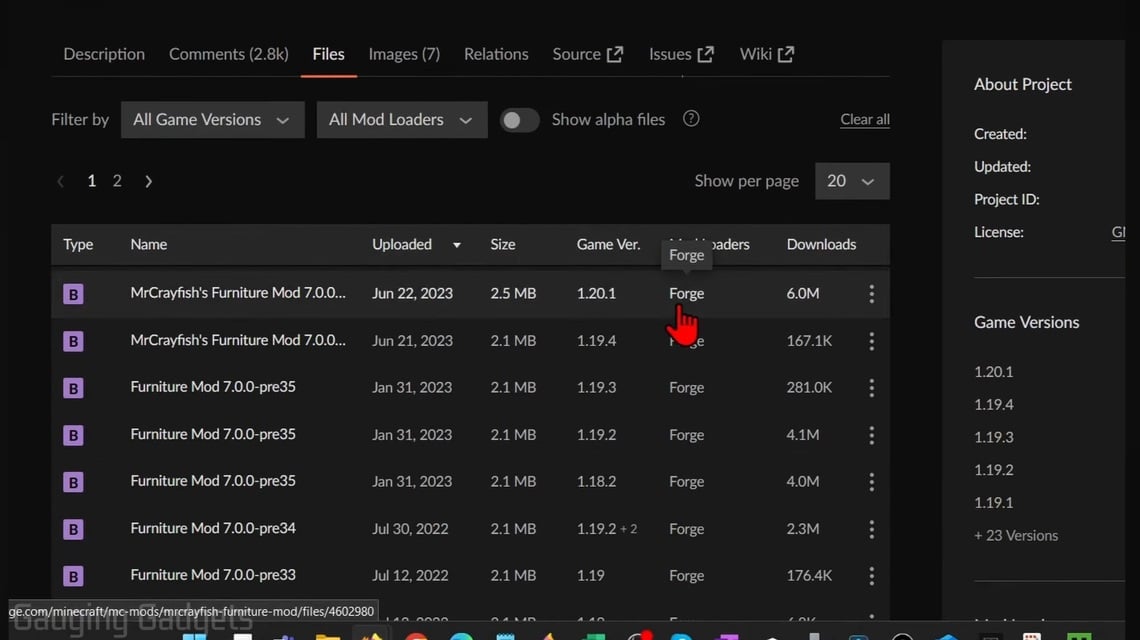
After installing Minecraft Forge, now you just need to choose the existing mods to use on Minecraft.
Find the mod that matches your version of Minecraft. If everything is correct, click the “Download” button.
Once the mod has been successfully downloaded, now open the folder where the downloaded file is located. The location may vary depending on the operating system you are using.
If you can’t find the folder, create a new folder and name it “Mods”. Copy and paste the downloaded mods into that folder.
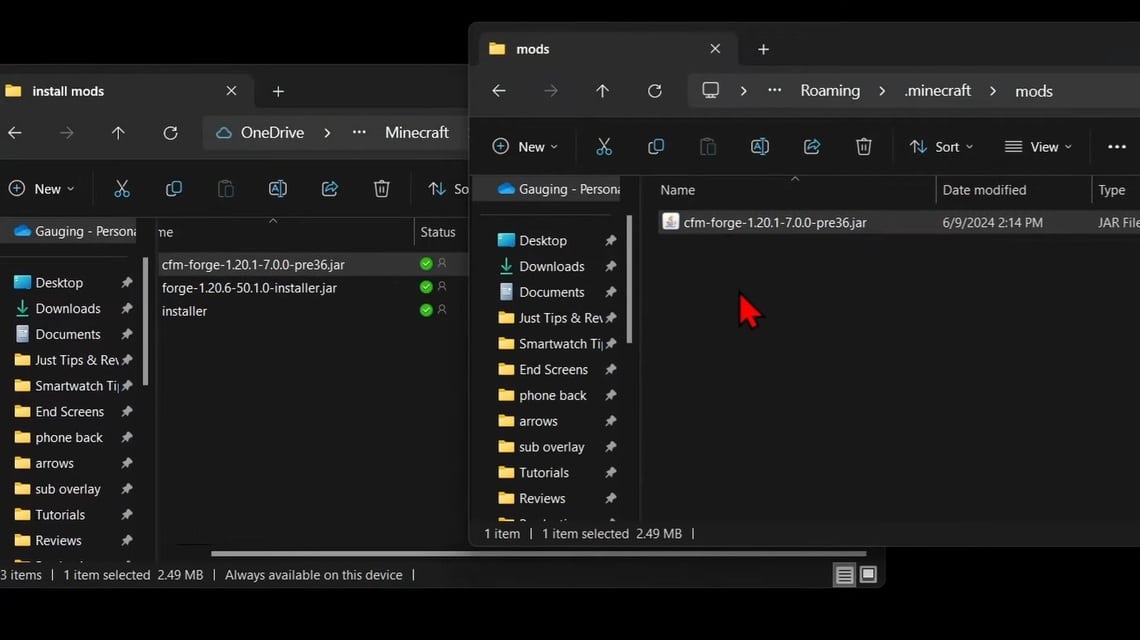
Do the same with the mod folder available in the dedicated storage of your Minecraft server installation.
If you use Windows, the Minecraft client mod is usually located in the “.minecraft“. You can find it by going to the Users/Windows-Name/Appdata/Roaming/.minecraft menu.
An alternative way that you can use is to press the Control + R button on the keyboard and type %appdata% then press Enter.
On MacOs itself, the default storage for the Minecraft client folder is ~/Library/Application/Support/minecraft.
You can also access it by pressing Command + Shift + G on your keyboard to open Finder and enter the ~Library/ Application Support/ Minecraft menu.
Check Mod Installation Status
To check if the mod is installed properly, you can open Minecraft Forge and follow these steps:
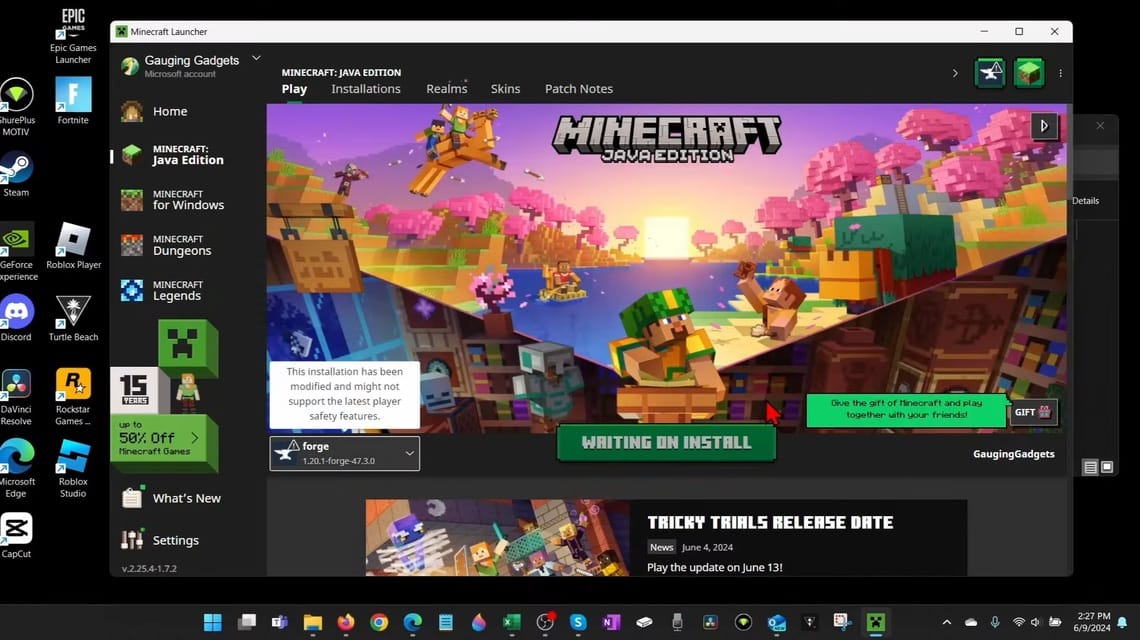
- Open Minecraft and select the “Forge” menu from the dropdown menu in the bottom left corner and select “Play”
- After entering the Minecraft main menu, select the “Mods” button.
- In this menu, all the mods you installed will appear on the left side.
- To check if the mod is active, select the “Multiplayer” menu and add your server address.
- This will make the client and server versions of Minecraft run simultaneously, so your server address will be called “localhost”
- After successfully connecting, now the mod you are using is guaranteed to run smoothly.
- Also read:
- How to Make and Use a Bed in Minecraft
- How to Make Minecraft in Infinite Craft, Easy!
- How to make a map in Minecraft that's really easy!
Come on, top up Minecraft at the cheapest price VCGamers Marketplace right now!