Minecraft It remains interesting to play thanks to thousands of mods, and to install mods you will need Forge.
If you are interested in exploring the world Minecraft mods wild, you can start by installing Minecraft Forge.
And in this article we will share a step by step tutorial to install it.
Cheapest Roblox Products!


Come on, take a look at the following discussion!
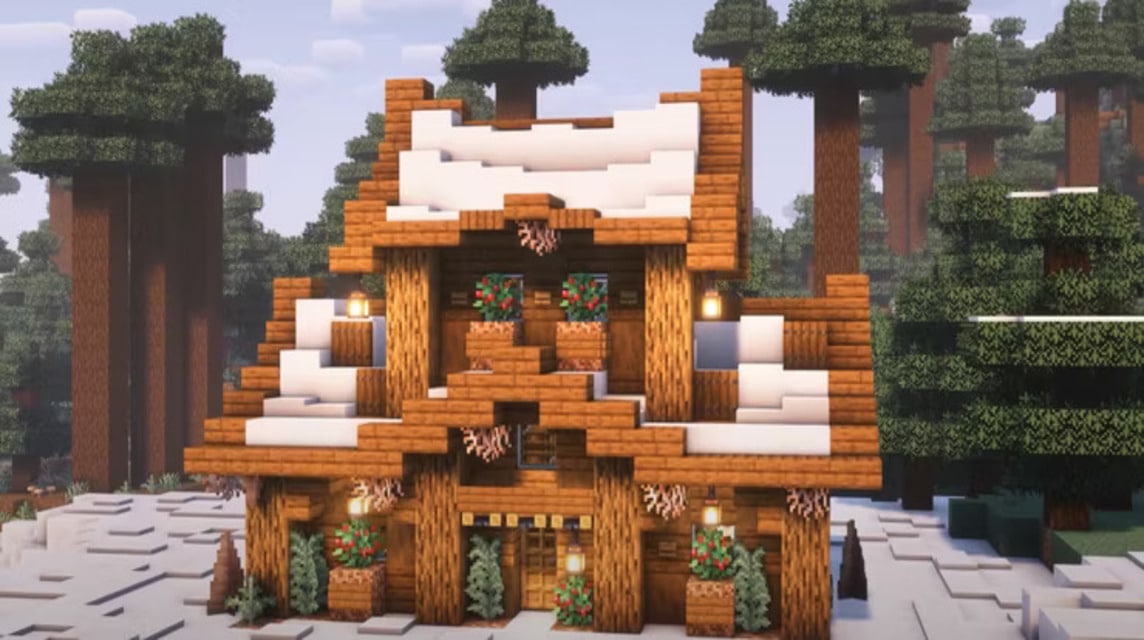
Also read: 5 Simple But Good Minecraft House Design Ideas!
What is Minecraft Forge?
Minecraft Forge is a free open source server that allows you to install and run Minecraft mods.
This server was designed with the aim of simplifying compatibility between game mods created by the community for Minecraft: Java Edition.
This platform allows you to download, install, and run mods without requiring extensive technological and programming knowledge.
Also read: 10 Recommendations for the Latest Simple Minecraft Houses
What are Minecraft Mods?
The word "mod" or "mods" is an abbreviation of modification. In Minecraft, these are changes made to the original game with the aim of improving or adding elements.
Some mods focus on Minecraft game design. Mods created and installed for purely aesthetic reasons.
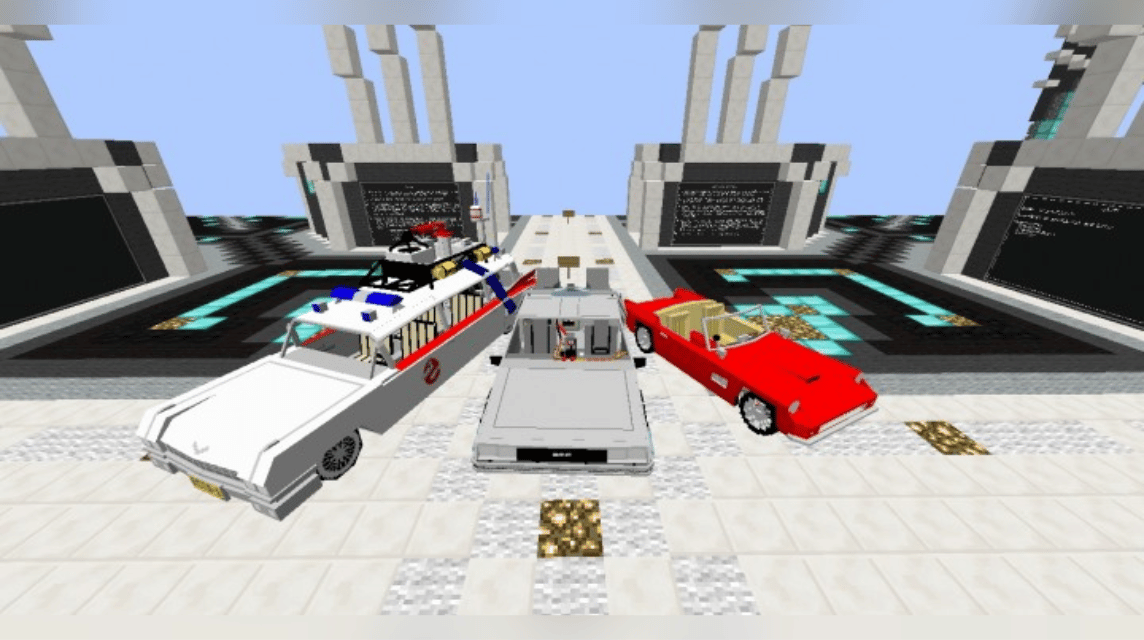
Other mods add new and functional elements to the game itself, such as new characters or collectibles.
There are even very ambitious mods out there capable of adding completely new worlds.
Also read: How to Make Scaffolding in Minecraft
Forge Installation Preparation
Before you install Minecraft Forge, there are several things you need to do in the Minecraft launcher.
Following are the installation steps:
Step 1
Check the Play button. You should have a drop-up menu button or arrow to the right of it.
This arrow allows you to launch different releases. You must have a different release to launch in order to fully import Minecraft Forge.
Step 1a
To enable it, go to Step 2.
Step 1b
If you have already activated this feature, please skip this section and go directly to the Installation section. But if you want to double check your version (or add a new version), continue.
Step 2
Open Launch options on your launcher and turn on Advanced Settings. If you get a pop-up box, click OK.
Step 3
Click on the Add New option. Select the version of Minecraft you are looking for from the drop-down menu. You can change the icon to something different so you can quickly differentiate between them.
You have the option to change the Resolution value, if you wish, to suit the screen.
Step 4
Open JVM Arguments. Look for “1G” in the first letter combination in the sentence. This represents 1GB of RAM, basically the game is automatically allocated 1GB of the total RAM.
It is highly recommended that you allocate half of your current RAM for games.
So, let's say you have 16GB RAM. You will change “1G” to “8G”. This is because you may need more than 1GB when playing Minecraft with mods.
Step 5
Return to the News screen. The Play button should now have an up arrow or drop-up menu arrow next to it.
Also read: How to Make a Smithing Table and Its Functions in Minecraft
Installing Minecraft Forge
Step 1
Visit https://files.minecraftforge.net/ and download the version of the installer that is compatible with your system and settings.
If you use Windows, please download the Windows Installer. For Mac/Linux, download the regular Installation.
Choose between Recent Tabs and Recommended Tabs. For beginners, we highly recommend (no joke intended) Recommended Tab.
The Recent tab usually contains new beta versions that may not have been thoroughly tested.
Step 2
Wait for the countdown to finish, then click the Skip button. This will prompt the download to start automatically.
Step 3
Run the installer program and select “Install Client.” The files will automatically install to the default installation directory (.minecraft folder).
Step 4
Click OK. All Forge libraries and files will immediately start downloading into the specified folder.
Step 5
Quit the Minecraft launcher, then start again. Go back to Launch options and click Add New.
Step 6
Click on the Version drop-down menu and scroll all the way to the bottom.
You will see something like “release 1.12.2” (or whatever version you downloaded and used) and the name forge after it. Choose it.
Once again, change the Resolution value to your liking and RAM allocation (see Preparing for Installation section). Click the Save button.
Step 7
Return to the News screen and click the up arrow next to the Play button. You will see the option to play the version with “forge” in the name.
Select the option and click Play.
Step 8
When the Minecraft landing screen opens, check the bottom left corner. You will see the line “Powered by Forge” and then whatever version you chose.
We will also have the option to Mod. This will tell you if Minecraft Forge has been installed successfully.
Also read: Minecraft Movie will be released in 2025, here are the cast!
That's our discussion this time. Hopefully this article is useful for you. Don't forget to stay updated with the latest info about games, technology and gadgets only at VCGamers News!
And for those of you who want to top up Minecraft easily, quickly and reliably, come visit VCGamers Marketplace right now!